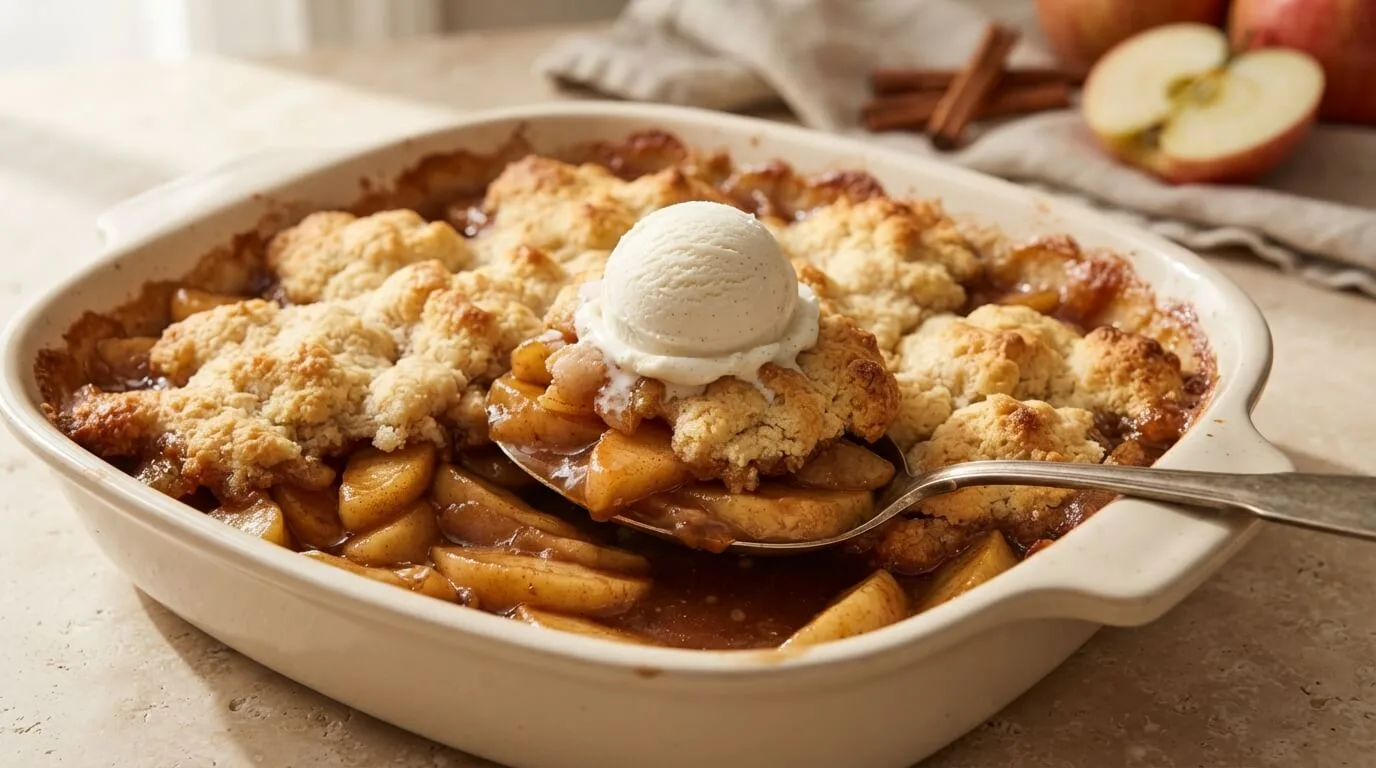
This is the dessert I make when I want that classic apple pie flavor but don’t want to deal with rolling out a crust. I remember the first time I made a proper cobbler instead of relying on a shortcut version, standing at the stove stirring the apples in their spiced syrup and realizing how much better it tasted made from scratch, compared to the dump-style versions I’d been leaning on for busy nights. It’s become the dessert I reach for when I actually have a little time to spend in the kitchen, rather than needing something fast.
This Apple Cobbler has tender, spiced apples simmered in a buttery syrup, topped with a biscuit-like batter that bakes up golden and slightly crisp. If you’re short on time, my Apple Dump Cake is the quicker route to a similar flavor, but when I have a bit more time, this cobbler or something like my Classic Apple Pie is what I reach for instead, and my Caramel Apple Cheesecake is a great addition if you want a second apple dessert on the same table.
Why This Recipe Works
Cooking the apples briefly on the stovetop before they go into the baking dish softens them slightly and lets the sugar and spices begin to dissolve into a syrup, giving the filling a head start compared to relying on the oven alone to soften raw apples, similar to the pre-cooked filling used in some layered apple desserts. Using a simple batter for the topping, rather than a pastry crust, gives this cobbler its classic soft, slightly cakey texture on top, distinct from the flaky crust of a traditional apple pie.
Pouring the batter over the apples rather than stirring them together lets the batter rise up and bake into a distinct top layer as it cooks, creating that signature cobbler look with the apples peeking through in spots. Baking until the topping is deeply golden ensures it’s fully cooked through and holds its shape once sliced or scooped.
Ingredients You’ll Need
For the apple filling:
- 6 cups apples, peeled and sliced (about 6 medium apples — a mix of Granny Smith and Honeycrisp works well)
- ½ cup granulated sugar
- 2 tablespoons brown sugar, packed
- 1 tablespoon all-purpose flour
- 1 teaspoon ground cinnamon
- ¼ teaspoon ground nutmeg
- 1 tablespoon lemon juice
- 2 tablespoons unsalted butter
For the topping:
- 1 cup all-purpose flour
- ½ cup granulated sugar
- 1 ½ teaspoons baking powder
- ¼ teaspoon salt
- ½ cup whole milk
- 6 tablespoons unsalted butter, melted
- 1 teaspoon vanilla extract
- 2 tablespoons coarse sugar, for topping (optional)
Step-by-Step Instructions
1. Cook the Apples
In a large skillet over medium heat, combine the sliced apples, granulated sugar, brown sugar, flour, cinnamon, nutmeg, lemon juice, and butter. Cook for 6–8 minutes, stirring occasionally, until the apples begin to soften and release some juice.
2. Transfer to a Baking Dish
Preheat your oven to 375°F (190°C) and grease a 9×9-inch or similarly sized baking dish. Pour the apple mixture into the prepared dish, spreading it into an even layer.
3. Make the Topping Batter
In a bowl, whisk together the flour, sugar, baking powder, and salt. Add the milk, melted butter, and vanilla extract, stirring just until combined into a smooth batter.
4. Add the Topping
Pour the batter evenly over the apple mixture, spreading it gently to cover as much of the surface as possible — it doesn’t need to be perfect, since it will spread more as it bakes. Sprinkle with coarse sugar if using.
5. Bake
Bake for 35–40 minutes, until the topping is deeply golden and a toothpick inserted into the batter comes out clean. Let cool for about 10–15 minutes before serving.
Tips From My Kitchen
- Cooking the apples briefly on the stovetop first gives the filling a head start on softening and flavor.
- Don’t worry if the topping doesn’t cover every inch of the apples before baking — it spreads as it cooks.
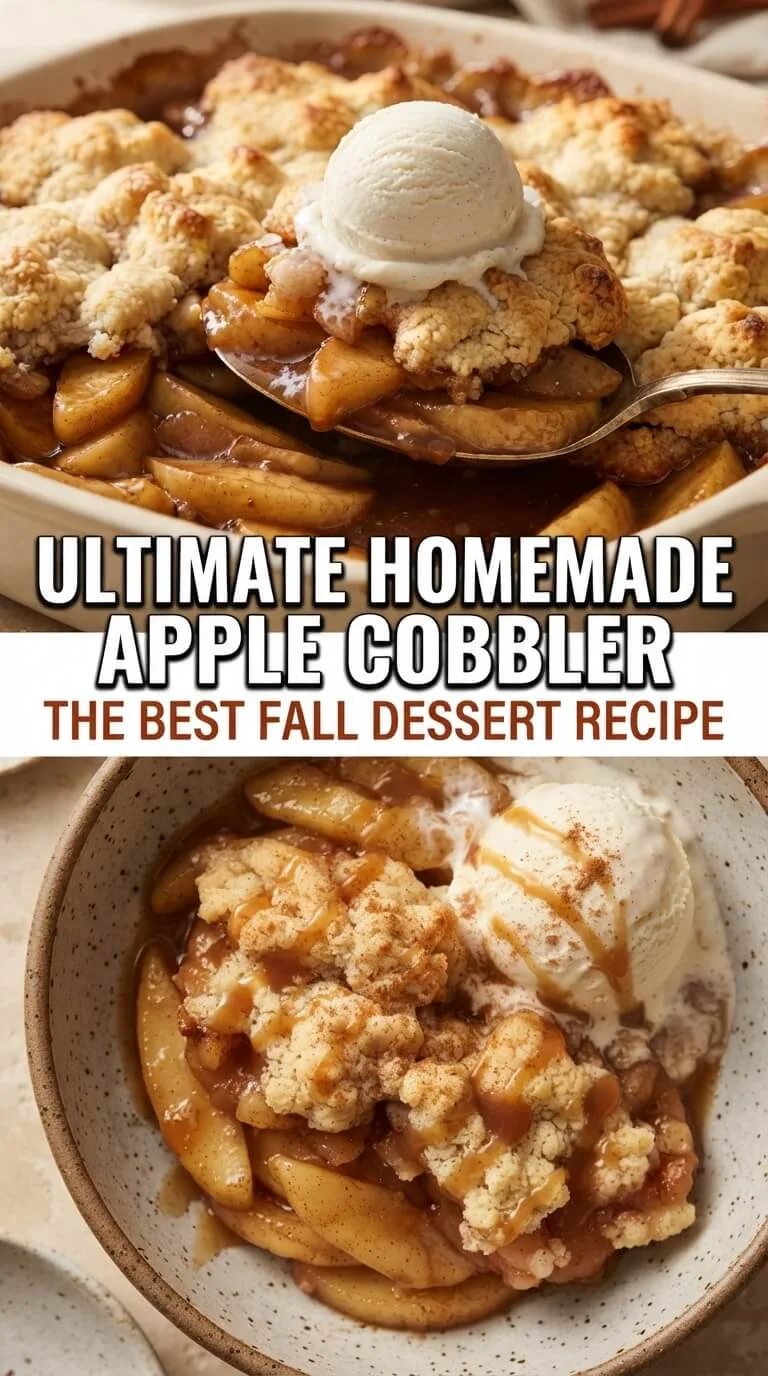
- Serve warm with a scoop of vanilla ice cream for the classic cobbler experience.
- Mixing tart and sweet apples gives the filling more depth than using just one variety.
Nutrition Information
Estimated values per serving, based on 9 servings:
- Calories: approximately 280–310
- Protein: 3–4g
- Carbohydrates: 44–47g
- Fat: 11–13g
- Sugar: 28–30g
For a lighter version, reduce the sugar in both the filling and topping slightly — the cobbler will still have plenty of natural apple sweetness.
Storage and Reheating
Store leftovers covered at room temperature for up to 2 days, or in the fridge for up to 5 days. Reheat individual portions in the microwave for a quick warm-up, or in the oven at a moderate temperature to help the topping regain some texture. This cobbler also freezes well: wrap tightly and freeze for up to 2 months, then thaw overnight in the fridge before reheating.
Frequently Asked Questions
What are the best apples for cobbler?
A mix of tart and sweet apples gives the best flavor — Granny Smith for tartness and structure, paired with something sweeter like Honeycrisp or Gala. Avoid apples that turn mushy when baked, like Red Delicious.
Can I make this ahead of time?
You can prepare the apple filling a day ahead and store it covered in the fridge, then make the batter fresh and assemble the cobbler just before baking for the best texture.
Why is my topping still doughy in the middle?
This usually means the cobbler needs more time in the oven. Check with a toothpick inserted into the thickest part of the topping — it should come out clean when fully baked.
What’s the difference between a cobbler and a dump cake?
A cobbler uses a proper batter or biscuit topping poured or dropped over cooked fruit, while a dump cake relies on a dry cake mix layered over the fruit without mixing — the cobbler generally has a softer, more cake-like topping.
Final Thoughts
This Apple Cobbler has become the dessert I turn to when I want that classic homemade apple flavor with a little more effort than a dump cake, but without the fuss of a full pie crust. Warm, spiced, and topped with that golden, slightly crisp batter, I hope it becomes a fall favorite in your kitchen too.
