
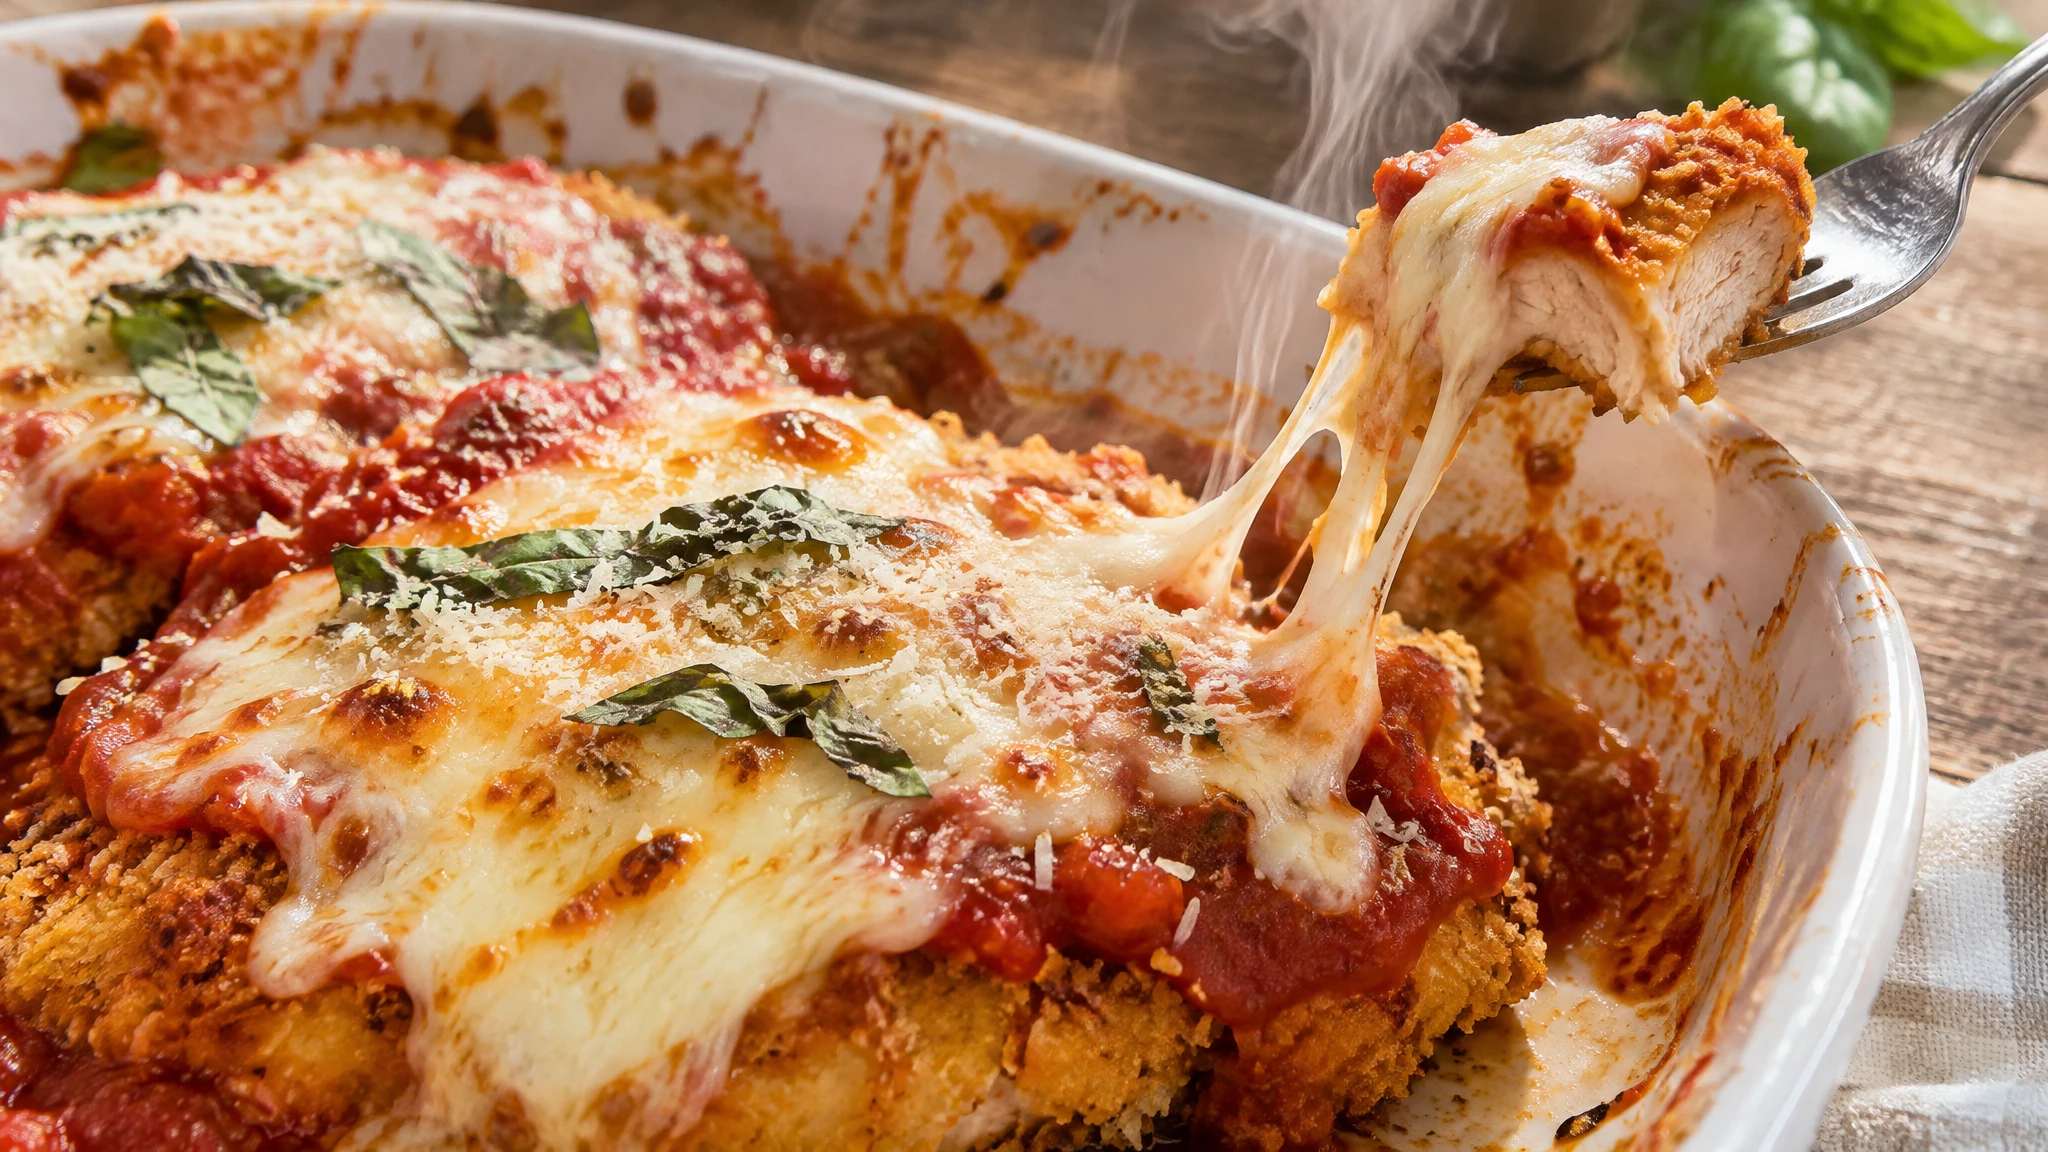
There’s something incredibly satisfying about biting into crispy baked chicken Parmesan with its golden, crunchy coating giving way to tender, juicy chicken beneath a blanket of melted mozzarella and tangy marinara sauce. This Italian-American classic has been a favorite in restaurants for decades, but I find that making it at home gives you complete control over the quality of ingredients and the level of crispiness you prefer. Unlike the traditional fried version, this baked approach delivers all the flavor and texture you crave with significantly less oil and mess.
What I love most about this recipe is how it transforms simple chicken breasts into an impressive dinner that feels special enough for company yet remains easy enough for a busy weeknight. The secret to achieving that restaurant-quality crispy coating without deep frying lies in a few key techniques: properly preparing your chicken cutlets, creating a well-seasoned breadcrumb mixture with plenty of Parmesan, and using high heat in the oven. The result is a dish that’s both healthier and just as delicious as any version you’d find at your favorite Italian restaurant.
Whether you’re cooking for your family or entertaining guests, this crispy baked chicken Parmesan delivers comfort food at its finest. Serve it over a bed of spaghetti, alongside a fresh Caesar salad, or with crusty garlic bread to soak up that delicious marinara sauce. Once you master this straightforward technique, you’ll find yourself making it again and again.
Why You’ll Love This Recipe
This crispy baked chicken Parmesan checks all the boxes for what makes a recipe truly worth making. First and foremost, it’s significantly healthier than the traditional fried version while maintaining that irresistible crispy texture everyone loves. By baking instead of frying, you reduce the amount of oil needed dramatically, cutting calories and fat without sacrificing flavor.
I appreciate how straightforward this recipe is to prepare. The three-step breading process might seem involved at first, but it becomes second nature after you’ve done it once or twice. Everything comes together in about 40 minutes from start to finish, making it perfect for those evenings when you want something special but don’t have hours to spend in the kitchen.
The ingredient list is refreshingly simple and uses items you likely already have in your pantry. There’s no need for exotic ingredients or specialty equipment—just basic staples that come together to create something truly delicious. Plus, this recipe is incredibly versatile and adapts well to various dietary preferences and ingredient substitutions.
Another reason I recommend this dish is its crowd-pleasing nature. I’ve yet to meet someone who doesn’t enjoy chicken Parmesan, and the crispy coating combined with gooey melted cheese makes it especially appealing to both adults and children. It’s the kind of recipe that makes everyone at the table happy.
Ingredients and Substitutions
The beauty of this crispy baked chicken Parmesan lies in its simple, quality ingredients. Let me walk you through what you’ll need and how you can adapt the recipe to suit your preferences or what you have on hand.
The boneless, skinless chicken breasts form the foundation of this dish. I recommend choosing breasts that are relatively uniform in size so they cook evenly. If your chicken breasts are particularly thick, you’ll slice them horizontally to create thinner cutlets, which helps them cook through properly while the coating gets crispy. You can substitute chicken tenders if you prefer, though you’ll need to adjust the cooking time slightly.
Italian-style breadcrumbs provide the base for that golden, crispy coating. If you only have plain breadcrumbs, you can easily season them yourself with dried basil, oregano, and garlic powder. For a gluten-free version, use gluten-free breadcrumbs or crushed gluten-free crackers. Panko breadcrumbs also work beautifully and create an even crispier texture.
The Parmesan cheese is essential for authentic flavor and helps the coating achieve that beautiful golden color. I always recommend using freshly grated Parmesan rather than the pre-grated variety in a can, as it has superior flavor and melts better. Pecorino Romano makes an excellent substitute if you prefer a sharper, saltier taste.
For the marinara sauce, you can use your favorite store-bought brand or homemade sauce. I like to choose a sauce with good flavor since it plays a prominent role in the final dish. If you’re looking for more Italian-inspired recipes, you might enjoy this ricotta meatballs in tomato sauce for another comforting dinner option.
The mozzarella cheese creates that signature stretchy, melted topping. I prefer using shredded mozzarella for even melting, but you can also use fresh mozzarella sliced thin. For extra richness, try a combination of mozzarella and provolone.
Fresh basil adds a bright, herbaceous finish that cuts through the richness of the cheese. If you don’t have fresh basil, you can use fresh parsley or even a sprinkle of dried Italian seasoning, though fresh herbs really do make a difference in the final presentation and flavor.
How to Make This Recipe
Making crispy baked chicken Parmesan is a straightforward process that yields impressive results. Let me guide you through each step to ensure your chicken turns out perfectly crispy and delicious every time.
Start by preheating your oven to 425°F (220°C). This high temperature is crucial for achieving a crispy coating without overcooking the chicken. While the oven heats, line a large baking sheet with parchment paper and brush it lightly with olive oil to prevent sticking and promote even browning on the bottom.
Next, prepare your chicken breasts. If they’re thick, slice them horizontally to create thinner cutlets—aim for pieces about 1/2 inch thick. I find it helpful to place the chicken on a cutting board and use a sharp knife parallel to the board, carefully slicing through the middle. Once sliced, place the cutlets between two pieces of plastic wrap or parchment paper and gently pound them to an even thickness using a meat mallet or rolling pin. This ensures even cooking throughout.
Now set up your breading station with three shallow bowls or plates. In the first bowl, combine the all-purpose flour with garlic powder, salt, and black pepper. In the second bowl, beat the eggs until well combined. In the third bowl, mix together the Italian-style breadcrumbs, grated Parmesan cheese, and Italian seasoning. This assembly-line setup makes the breading process efficient and less messy.
Take each chicken cutlet and coat it first in the seasoned flour, shaking off any excess. Then dip it into the beaten eggs, allowing any excess to drip off. Finally, press it into the breadcrumb mixture, making sure to coat both sides thoroughly and pressing gently so the breadcrumbs adhere well. Place the breaded cutlets on your prepared baking sheet, leaving a bit of space between each piece for air circulation.
Once all the chicken is breaded and arranged on the baking sheet, drizzle or brush the remaining olive oil over the tops of the cutlets. This helps the coating crisp up beautifully in the oven. Bake for 15-18 minutes, flipping the cutlets halfway through the cooking time. You’ll know they’re ready when the coating is golden brown and the chicken is nearly cooked through.
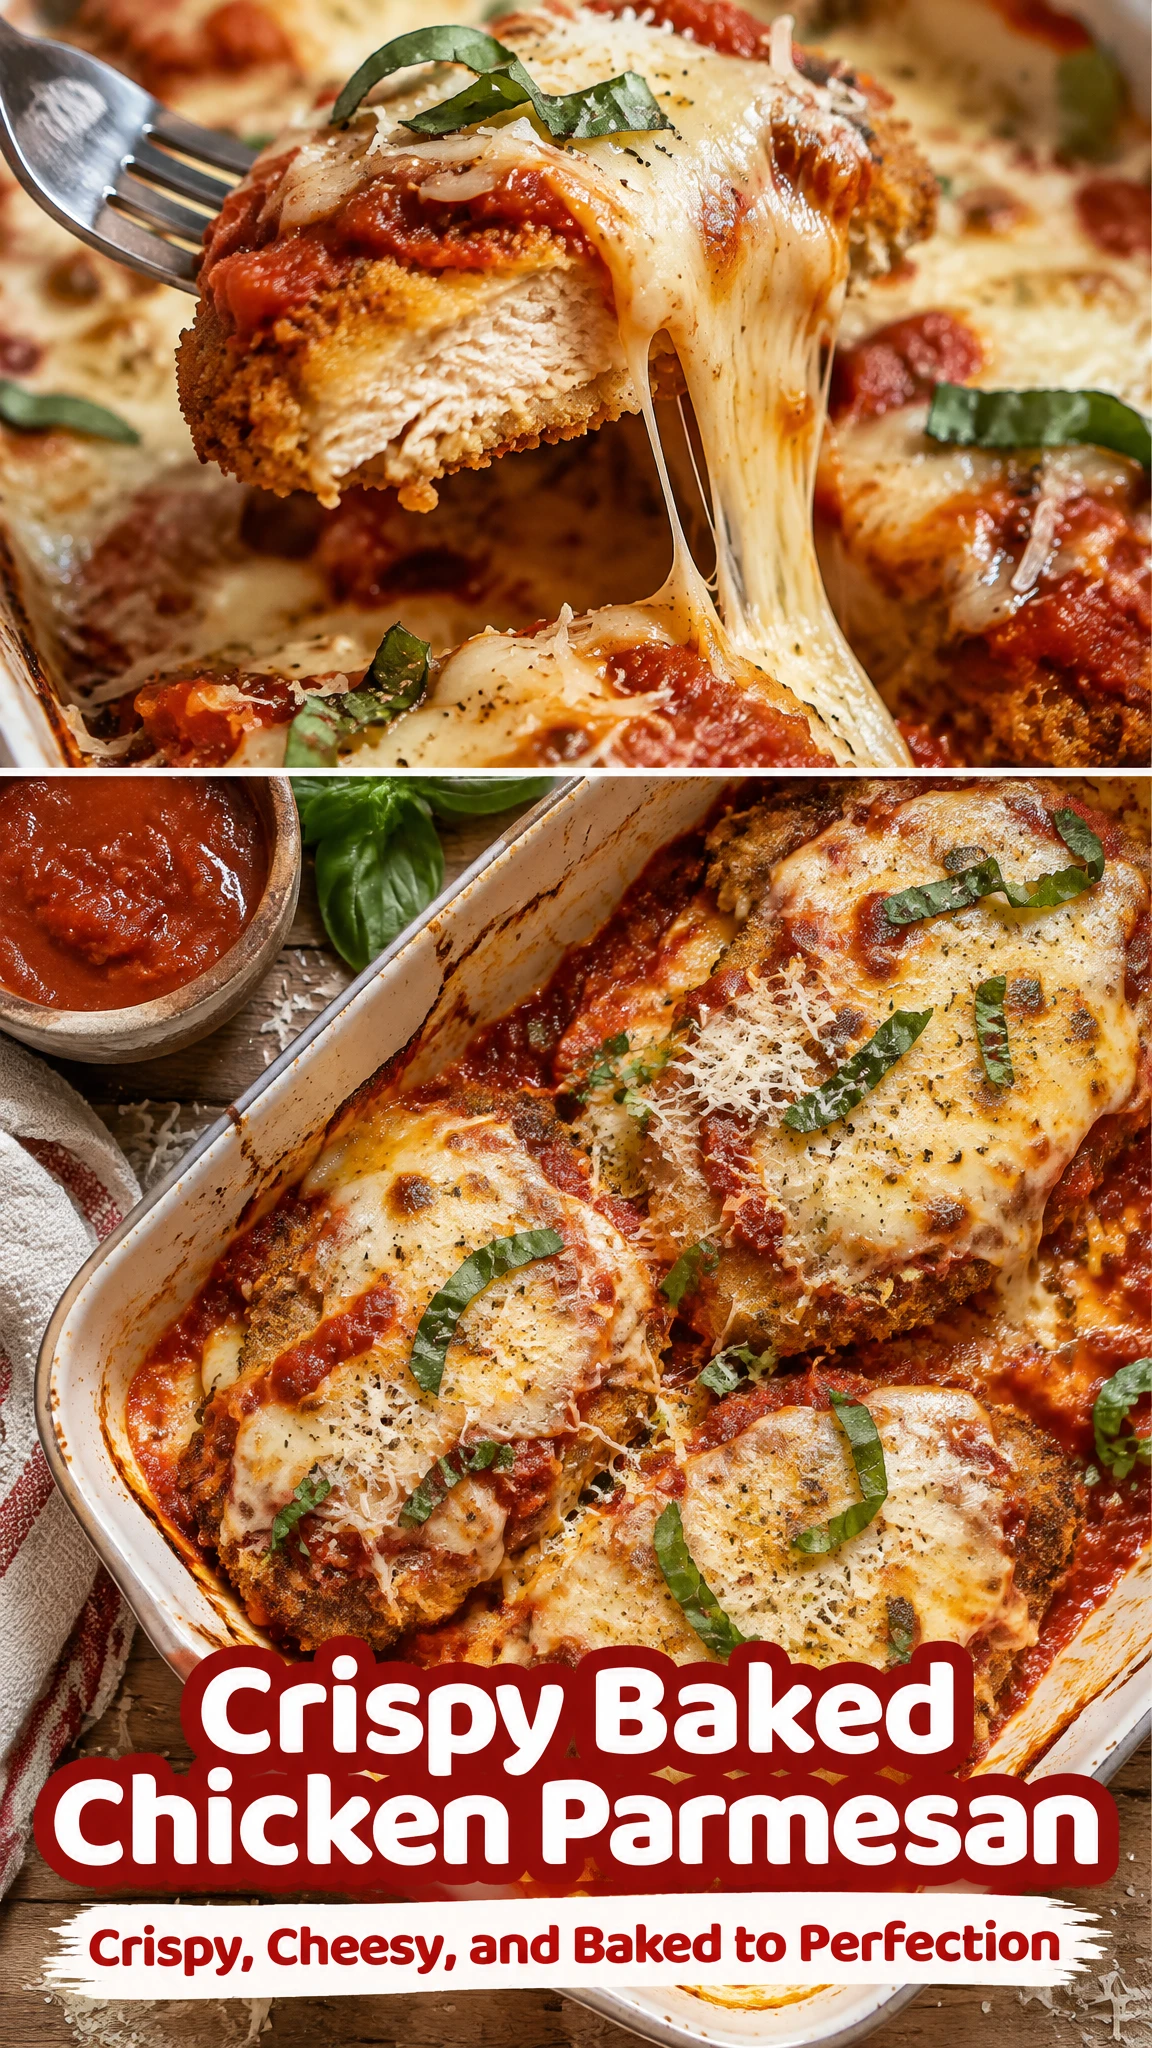
Remove the baking sheet from the oven and spoon marinara sauce over each cutlet—you don’t need to completely cover them, just a generous spoonful on each. Sprinkle the shredded mozzarella cheese over the sauce, then return the pan to the oven for an additional 5-7 minutes. The chicken is done when the cheese is melted and bubbly and the internal temperature of the chicken reaches 165°F (74°C).
Garnish with freshly chopped basil just before serving for a pop of color and fresh flavor. The contrast between the crispy coating, tender chicken, tangy sauce, and melted cheese is absolutely irresistible.
Expert Tips for Best Results
After making this recipe many times, I’ve learned a few tricks that make a real difference in the final result. First, don’t skip the step of pounding the chicken to an even thickness. This is one of the most important techniques for ensuring your chicken cooks evenly and stays juicy. Uneven pieces will result in some parts being overcooked while others remain undercooked.
When breading the chicken, I recommend using one hand for the wet ingredients and one hand for the dry ingredients. This “wet hand, dry hand” method keeps your fingers from getting completely coated in breading and makes the process much cleaner and more efficient.
For the crispiest coating, make sure your oven is fully preheated before the chicken goes in. That initial blast of high heat helps set the breading and start the crisping process immediately. Also, resist the urge to overcrowd the baking sheet. If the cutlets are too close together, they’ll steam rather than crisp up.
I find that flipping the chicken halfway through the initial baking time is essential for achieving crispiness on both sides. Use a thin spatula to carefully turn each piece, being gentle so you don’t knock off the breading.
When adding the marinara sauce, less is more. Too much sauce can make the breading soggy. I like to spoon just enough sauce to cover the center of each cutlet, leaving the edges exposed so they stay crispy. You can always serve extra sauce on the side for those who want more.
Let the chicken rest for a few minutes after it comes out of the oven. This allows the juices to redistribute throughout the meat, ensuring every bite is moist and flavorful. It also gives the cheese a moment to set slightly, making it easier to serve.
Serving Suggestions
Crispy baked chicken Parmesan is incredibly versatile when it comes to serving options. The classic presentation involves placing the chicken over a bed of spaghetti or your favorite pasta, with extra marinara sauce spooned over everything. I love serving it this way because the pasta soaks up all those delicious flavors.
For a lighter option, serve the chicken alongside a crisp green salad dressed with a simple vinaigrette. The fresh, acidic greens provide a nice contrast to the rich, cheesy chicken. A Caesar salad is particularly complementary, or you could go with a classic Italian chopped salad with tomatoes, cucumbers, and red onion.
Garlic bread or crusty Italian bread is a must-have accompaniment in my book. It’s perfect for soaking up any extra sauce and adds another textural element to the meal. You could also serve roasted vegetables like zucchini, bell peppers, or broccoli on the side for added nutrition and color.
If you’re looking for more comforting pasta dishes to round out your Italian dinner menu, this million dollar baked ziti makes an excellent companion dish for larger gatherings.
For a complete Italian-inspired dinner party, start with a simple antipasto platter, serve the chicken Parmesan as the main course with pasta and salad, and finish with tiramisu or gelato for dessert. A glass of Chianti or Pinot Grigio pairs beautifully with this dish.
Variations and Substitutions
One of the things I appreciate most about this recipe is how easily it adapts to different preferences and dietary needs. For a gluten-free version, simply substitute gluten-free breadcrumbs and gluten-free flour. The texture and flavor remain excellent with these simple swaps.
If you’re looking to reduce carbs, you can use crushed pork rinds or almond flour in place of breadcrumbs. This creates a keto-friendly version that’s still wonderfully crispy. You might need to add a bit more Parmesan to help the coating stick properly.
For extra flavor, try adding red pepper flakes to the breadcrumb mixture for a spicy kick, or mix in some dried oregano and basil for more herbaceous notes. You can also add a tablespoon of finely chopped fresh parsley to the breading for color and freshness.
If you prefer white meat alternatives, this same technique works beautifully with turkey cutlets or even thin pork chops. Just adjust the cooking time as needed based on the thickness of the meat.
For a fun twist, try making chicken Parmesan sliders by using smaller chicken pieces and serving them on toasted slider buns with extra sauce and cheese. This makes a great appetizer or casual dinner option.
You can also experiment with different cheeses. Try adding some fontina or asiago to the mozzarella for a more complex flavor profile, or use smoked mozzarella for a subtle smoky note.
Storage, Freezing, and Reheating
Proper storage ensures you can enjoy leftovers that taste nearly as good as when freshly made. Allow the chicken to cool completely before storing it in an airtight container in the refrigerator. It will keep well for 3-4 days. I recommend storing the chicken separate from any pasta or side dishes to maintain the best texture.
To reheat refrigerated chicken Parmesan, I find the oven method works best for maintaining crispiness. Preheat your oven to 375°F (190°C), place the chicken on a baking sheet, and heat for about 15-20 minutes until warmed through and the coating crisps up again. You can also use an air fryer at 350°F for about 8-10 minutes for excellent results.
While you can reheat in the microwave in a pinch, the coating will lose its crispiness and become somewhat soggy. If you must use the microwave, heat in 30-second intervals and consider finishing it under the broiler for a minute to crisp up the top.
This recipe freezes reasonably well, though the texture won’t be quite as crispy as fresh. I recommend freezing the breaded, baked chicken before adding the sauce and cheese. Wrap each piece individually in plastic wrap, then place them in a freezer-safe bag or container. They’ll keep for up to 3 months.
To prepare frozen chicken Parmesan, you can bake it directly from frozen. Preheat your oven to 375°F (190°C), place the frozen cutlets on a baking sheet, and bake for about 25-30 minutes. Then add the sauce and cheese and continue baking until the cheese melts and the chicken reaches 165°F internally.
If you have leftover chicken Parmesan, it makes excellent sandwiches the next day. Simply reheat a cutlet, place it on a toasted hoagie roll, and add extra sauce and cheese for a delicious chicken Parm sandwich.
Frequently Asked Questions
Can I use chicken thighs instead of breasts?
Yes, boneless, skinless chicken thighs work well in this recipe. They tend to be more forgiving and stay juicier than breasts. You may need to adjust the cooking time slightly depending on their thickness. Thighs typically take a few minutes longer to reach the safe internal temperature of 165°F.
How do I keep the breading from falling off?
The key to keeping the breading intact is ensuring each layer adheres properly. Make sure the chicken is dry before you start breading, press the breadcrumbs firmly onto the chicken, and let the breaded cutlets rest for about 5-10 minutes before baking. This helps the coating set. Also, avoid moving the chicken too much once it’s on the baking sheet.
Can I prepare this ahead of time?
Absolutely. You can bread the chicken cutlets up to 4 hours ahead and keep them refrigerated on the baking sheet until you’re ready to bake. You can also bake the chicken completely, then add the sauce and cheese just before serving and return it to the oven to melt the cheese. This makes it perfect for entertaining.
Why is my chicken dry?
Dry chicken usually results from overcooking. Use a meat thermometer to check that the internal temperature reaches exactly 165°F—no higher. Also, make sure you’re pounding the chicken to an even thickness so it cooks uniformly. Starting with thinner cutlets helps them cook through quickly without drying out.
Can I make this in an air fryer?
Yes, this recipe adapts well to an air fryer. Preheat your air fryer to 400°F, spray the breaded cutlets lightly with cooking spray, and cook for about 10-12 minutes, flipping halfway through. Then add the sauce and cheese and cook for an additional 2-3 minutes until the cheese melts.
What’s the best marinara sauce to use?
Any good-quality marinara sauce works well. I like to choose one that’s not too sweet and has good tomato flavor. Rao’s, Victoria, and Classico are all reliable brands. You can also make your own marinara sauce if you have the time—it adds a wonderful homemade touch to the dish.
Crispy Baked Chicken Parmesan
Crispy baked chicken breasts coated in golden Parmesan breadcrumbs, topped with marinara sauce and melted mozzarella for a delicious Italian-inspired dinner that’s healthier than the traditional fried version.
- Prep Time: 15 minutes
- Cook Time: 25 minutes
- Total Time: 40 minutes
- Servings: 4
- Difficulty: Easy
- Cuisine: Italian-American
- Course: Dinner
Ingredients
- 4 boneless skinless chicken breasts (about 1 1/2 lbs total)
- 1 cup Italian-style breadcrumbs
- 1/2 cup grated Parmesan cheese
- 2 large eggs
- 1/2 cup all-purpose flour
- 1 tsp garlic powder
- 1 tsp Italian seasoning
- 1/2 tsp salt
- 1/2 tsp black pepper
- 2 tbsp olive oil
- 1 cup marinara sauce
- 1 1/2 cups shredded mozzarella cheese
- 2 tbsp fresh basil (chopped)
Instructions
- Preheat the oven to 425°F (220°C). Line a large baking sheet with parchment paper and lightly brush with olive oil.
- Slice the chicken breasts horizontally into thinner cutlets and pound to an even thickness of approximately 1/2 inch.
- Prepare three shallow bowls: one with flour, garlic powder, salt, and pepper; another with beaten eggs; and the third with breadcrumbs, Parmesan, and Italian seasoning.
- Dredge each chicken cutlet in seasoned flour, dip into beaten eggs, and coat thoroughly with the breadcrumb mixture.
- Arrange the breaded chicken on the baking sheet. Drizzle or brush with the remaining olive oil.
- Bake for 15-18 minutes, flipping halfway through, until the coating is golden and the chicken is nearly cooked through.
- Spoon marinara sauce over each cutlet and sprinkle with shredded mozzarella. Return to the oven for 5-7 minutes, until the cheese melts and the chicken reaches 165°F (74°C).
- Garnish with fresh basil and serve immediately with pasta or a green salad.
Recipe Notes
- For extra crispy chicken, let the breaded cutlets rest in the refrigerator for 10-15 minutes before baking.
- Don’t overload the chicken with sauce—too much will make the breading soggy. Use about 2-3 tablespoons per cutlet.
- If your chicken breasts are very large, you may get 6-8 thinner cutlets instead of 4, which is perfectly fine. Just adjust cooking time as needed.
- A meat thermometer is the most reliable way to ensure your chicken is cooked through without being overdone.
- Fresh mozzarella can be used but should be patted dry and sliced thin to prevent excess moisture.
Nutrition Information (Per Serving)
Estimated values based on one serving (1/4 of recipe):
- Calories: 485
- Carbohydrates: 28g
- Protein: 48g
- Fat: 19g
- Saturated Fat: 7g
- Fiber: 2g
- Sugar: 4g
- Sodium: 890mg
