
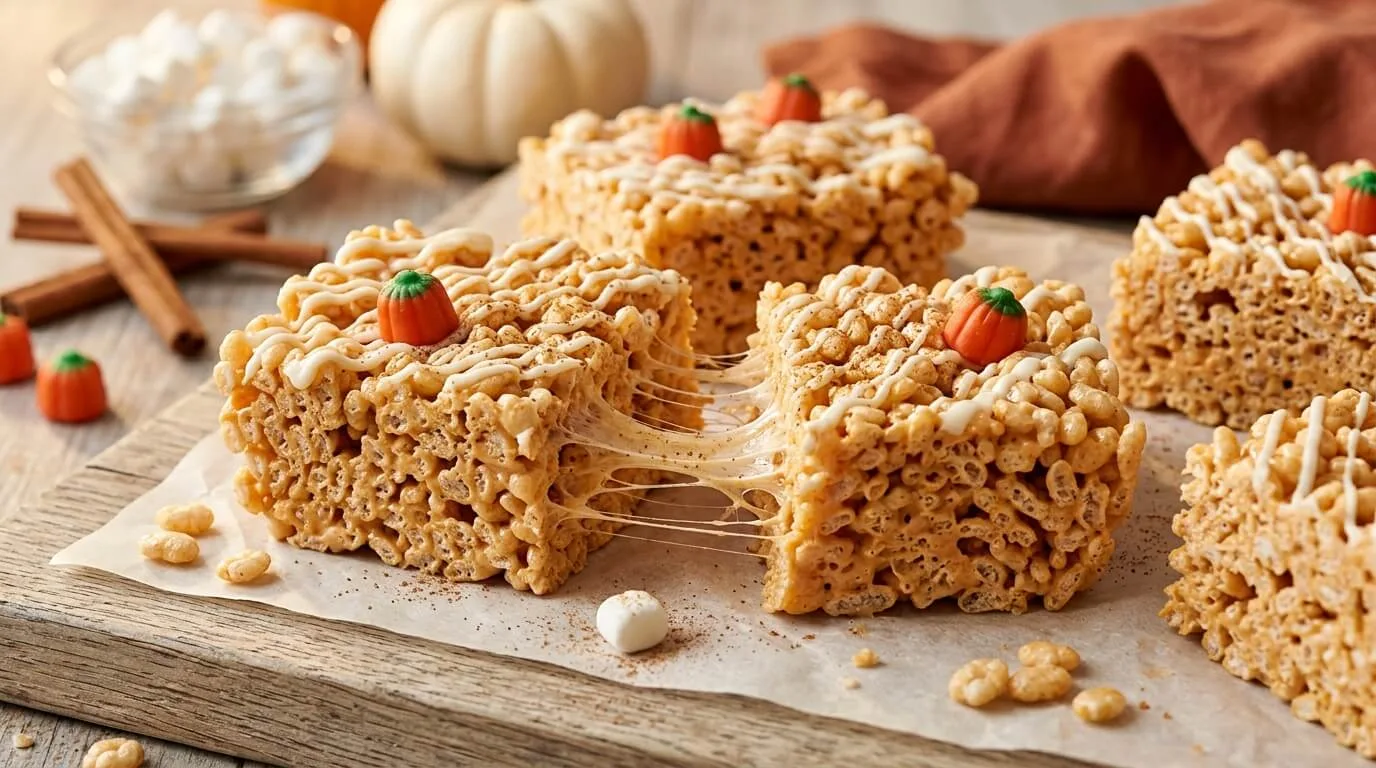
These started as a fun project with my kids one Saturday afternoon when we needed something festive to bring to a fall class party, and I didn’t have the time or patience for a full baking project. I remembered making classic Rice Krispie treats growing up and figured we could shape them into little pumpkins instead of the usual squares. What began as a simple activity turned into one of our favorite fall traditions — no oven required, and the kids get just as much fun shaping them as everyone else does eating them.
These Rice Krispie Treat Pumpkins are a fun, no-bake twist on the classic treat, shaped into little pumpkins and colored with orange candy melts. If you’re putting together a fall dessert table with the family, they’re a great addition alongside things like my Crumbl Copycat Pumpkin Pie Cookies, my Pumpkin Pie Brownies, or my Pumpkin Cheesecake Bars if you want a mix of both baked and no-bake options.
Why This Recipe Works
Melting the marshmallows low and slow, rather than rushing over high heat, keeps them from turning tough or clumpy once mixed with the cereal — a gentle melt is what gives these treats their classic soft, chewy texture. Letting the mixture cool slightly before shaping it into balls also matters, since it’s much easier (and safer) to work with once it’s not scorching hot straight off the stove.
Coating the shaped pumpkins in melted orange candy melts is really what transforms a basic Rice Krispie treat into something festive enough for a fall table, similar to how a simple chocolate coating turns a basic filling into something special, the same idea behind coating other fall treats in melted chocolate. A quick dip in green candy melts or a pretzel stick stem finishes off the pumpkin look.
Ingredients You’ll Need
- 6 tablespoons unsalted butter
- 1 bag (10 oz) mini marshmallows, plus extra if needed
- 6 cups crispy rice cereal
- 2 cups orange candy melts
- ¼ cup green candy melts (for stems, optional)
- Small pretzel sticks, for stems
Step-by-Step Instructions
1. Melt the Butter and Marshmallows
In a large pot over low heat, melt the butter completely. Add the mini marshmallows and stir continuously until fully melted and smooth, being careful not to let the mixture scorch.
2. Add the Cereal
Remove the pot from heat and stir in the crispy rice cereal until evenly coated in the marshmallow mixture.
3. Shape into Balls
Let the mixture cool for a few minutes, just until safe to handle. Lightly grease your hands with butter or nonstick spray, then scoop and roll the mixture into round balls, slightly flattening the tops and bottoms to resemble pumpkin shapes.
4. Coat in Orange Candy Melts
Melt the orange candy melts according to the package instructions. Dip each shaped treat into the melted candy, using a spoon to help coat it evenly, then set on parchment paper to firm up.
5. Add the Stems and Details
Once the orange coating has set, insert a small piece of pretzel stick into the top of each treat to create a stem. If using green candy melts, pipe a small vine or leaf detail near the stem for extra decoration.
Tips From My Kitchen
- Melt the marshmallows over low heat and stir constantly to avoid burning them.
- Greased hands make shaping the sticky mixture much easier and less messy.
- Work quickly once the candy melts are ready, since they can start to set before you finish dipping all the treats.
- Let kids help with rolling and decorating — it’s a fun, low-mess activity for little hands.
Nutrition Information
Estimated values per treat, based on 12 treats:
- Calories: approximately 210–240
- Protein: 1–2g
- Carbohydrates: 38–41g
- Fat: 6–7g
- Sugar: 28–30g
For a lighter version, use a reduced amount of candy melt coating and stick to a thinner layer — the treats will still look festive with a bit less sugar overall.
Storage and Reheating
Store the treats in an airtight container at room temperature for up to 4 days — no reheating needed. Keep them away from direct heat or sunlight, since the candy coating can soften. These don’t freeze particularly well, since the texture of the marshmallow base can turn tough once thawed, so they’re best enjoyed within a few days of making them.
Frequently Asked Questions
Can I use candy melts of a different color?
Yes, feel free to customize the colors for different occasions or themes — the shaping and coating process stays the same no matter what color you use.
Can I make these without shaping them into pumpkins?
Absolutely — you can press the mixture into a pan and cut it into classic squares if you’d rather skip the shaping step, then dip or drizzle with the candy melts however you like.
Why is my candy melt coating clumpy?
This usually happens if the candy melts overheat or come into contact with any moisture while melting. Melt them slowly and make sure your bowl and utensils are completely dry.
Can kids help make these?
Definitely — the rolling and decorating steps are great for kids to help with, just make sure an adult handles the hot marshmallow mixture and any melted candy.
Final Thoughts
These Rice Krispie Treat Pumpkins have become one of our favorite no-bake fall traditions, giving us something fun to make together without turning on the oven. They’re festive, easy, and always a hit at class parties and family gatherings alike. I hope they become a fun fall activity in your house too.
